6.2 KiB
Serverless
Introduced in GitLab 11.5.
Run serverless workloads on Kubernetes using Knative.
Overview
Knative extends Kubernetes to provide a set of middleware components that are useful to build modern, source-centric, container-based applications. Knative brings some significant benefits out of the box through its main components:
- Build: Source-to-container build orchestration
- Eventing: Management and delivery of events
- Serving: Request-driven compute that can scale to zero
For more information on Knative, visit the Knative docs repo.
Requirements
To run Knative on Gitlab, you will need:
-
Kubernetes: An RBAC-enabled Kubernetes cluster is required to deploy Knative. The simplest way to get started is to add a cluster using GitLab's GKE integration. GitLab recommends
-
Helm Tiller: Helm is a package manager for Kubernetes and is required to install all the other applications.
-
Domain Name: Knative will provide its own load balancer using Istio. It will provide an external IP address for all the applications served by Knative. You will be prompted to enter a wildcard domain where your applications will be served. Configure your DNS server to use the external IP address for that domain.
-
Serverless
gitlab-ci.ymlTemplate: GitLab uses Kaniko to build the application and the TriggerMesh CLI, to simplify the deployment of knative services and functions.Add the following
.gitlab-ci.ymlto the root of your repository (you may skip this step if using the sample Knative Ruby App mentioned below).stages: - build - deploy build: stage: build image: name: gcr.io/kaniko-project/executor:debug entrypoint: [""] only: - master script: - echo "{\"auths\":{\"$CI_REGISTRY\":{\"username\":\"$CI_REGISTRY_USER\",\"password\":\"$CI_REGISTRY_PASSWORD\"}}}" > /kaniko/.docker/config.json - /kaniko/executor --context $CI_PROJECT_DIR --dockerfile $CI_PROJECT_DIR/Dockerfile --destination $CI_REGISTRY_IMAGE deploy: stage: deploy image: gcr.io/triggermesh/tm@sha256:e3ee74db94d215bd297738d93577481f3e4db38013326c90d57f873df7ab41d5 only: - master environment: production script: - echo "$CI_REGISTRY_IMAGE" - tm -n "$KUBE_NAMESPACE" --config "$KUBECONFIG" deploy service "$CI_PROJECT_NAME" --from-image "$CI_REGISTRY_IMAGE" --wait -
Dockerfile: Knative requires a Dockerfile in order to build your application. It should be included at the root of your project's repo and expose port 8080.
Installing Knative via GitLab's Kubernetes integration
NOTE: Note: Minimum recommended cluster size to run Knative is 3-nodes, 6 vCPUs, and 22.50 GB memory. RBAC must be enabled.
You may download the sample Knative Ruby App to get started.
-
Add a Kubernetes cluster and install Helm.
-
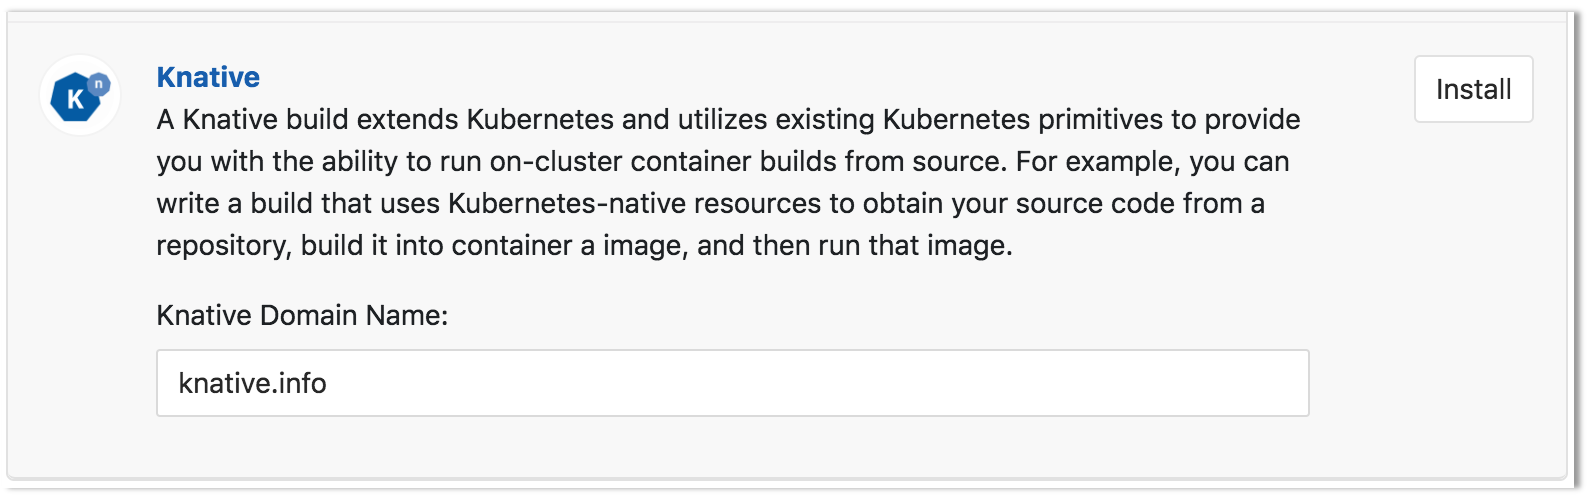
Once Helm has been successfully installed, on the Knative app section, enter the domain to be used with your application and click "Install".
-
After the Knative installation has finished, retrieve the Istio Ingress IP address by running the following command:
kubectl get svc --namespace=istio-system knative-ingressgateway -o jsonpath='{.status.loadBalancer.ingress[0].ip} 'Output:
35.161.143.124 my-machine-name:~ my-user$ -
The ingress is now available at this address and will route incoming requests to the proper service based on the DNS name in the request. To support this, a wildcard DNS A record should be created for the desired domain name. For example, if your Knative base domain is
knative.example.comthen you need to create an A record with domain*.knative.example.compointing the ip address of the ingress.
Deploy the application with Knative
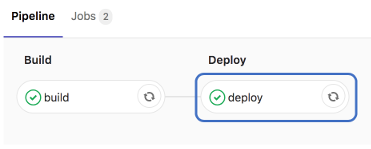
With all the pieces in place, you can simply create a new CI pipeline to deploy the Knative application. Navigate to CI/CD >> Pipelines and click the Run Pipeline button at the upper-right part of the screen. Then, on the Pipelines page, click Create pipeline.
Obtain the URL for the Knative deployment
Once all the stages of the pipeline finish, click the deploy stage.
The output will look like this:
Running with gitlab-runner 11.5.0~beta.844.g96d88322 (96d88322)
on docker-auto-scale 72989761
Using Docker executor with image gcr.io/triggermesh/tm@sha256:e3ee74db94d215bd297738d93577481f3e4db38013326c90d57f873df7ab41d5 ...
Pulling docker image gcr.io/triggermesh/tm@sha256:e3ee74db94d215bd297738d93577481f3e4db38013326c90d57f873df7ab41d5 ...
Using docker image sha256:6b3f6590a9b30bd7aafb9573f047d930c70066e43955b4beb18a1eee175f6de1 for gcr.io/triggermesh/tm@sha256:e3ee74db94d215bd297738d93577481f3e4db38013326c90d57f873df7ab41d5 ...
Running on runner-72989761-project-4342902-concurrent-0 via runner-72989761-stg-srm-1541795796-27929c96...
Cloning repository...
Cloning into '/builds/danielgruesso/knative'...
Checking out 8671ad20 as master...
Skipping Git submodules setup
$ echo "$CI_REGISTRY_IMAGE"
registry.staging.gitlab.com/danielgruesso/knative
$ tm -n "$KUBE_NAMESPACE" --config "$KUBECONFIG" deploy service "$CI_PROJECT_NAME" --from-image "$CI_REGISTRY_IMAGE" --wait
Deployment started. Run "tm -n knative-4342902 describe service knative" to see the details
Waiting for ready state.......
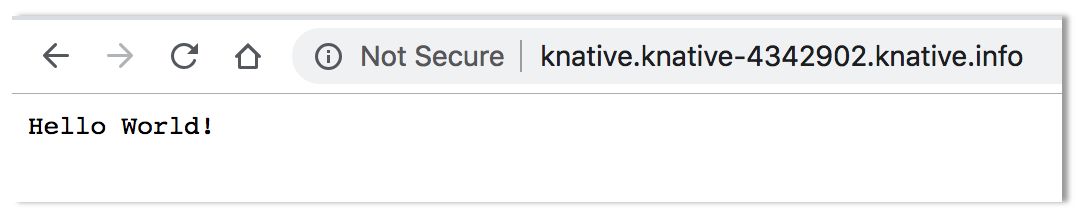
Service domain: knative.knative-4342902.knative.info
Job succeeded
The second to last line, labeled Service domain contains the URL for the deployment. Copy and paste the domain into your browser to see the app live.