4.4 KiB
| type |
|---|
| howto, reference |
SCIM provisioning using SAML SSO for Groups [SILVER ONLY]
Introduced in GitLab.com Silver 11.10.
System for Cross-domain Identity Management (SCIM), is an open standard that enables the automation of user provisioning. When SCIM is provisioned for a GitLab group, membership of that group is synchronized between GitLab and the identity provider.
GitLab's SCIM API implements part of the RFC7644 protocol.
Currently, the following actions are available:
- CREATE
- UPDATE
- DELETE (deprovisioning)
The following identity providers are supported:
- Azure
Requirements
-
Group SSO needs to be configured.
-
The
scim_groupfeature flag must be enabled:Run the following commands in a Rails console:
# Omnibus GitLab
gitlab-rails console

# Installation from source
cd /home/git/gitlab
sudo -u git -H bin/rails console RAILS_ENV=production
To enable SCIM for a group named
group_name:group = Group.find_by_full_path('group_name') Feature.enable(:group_scim, group)
GitLab configuration
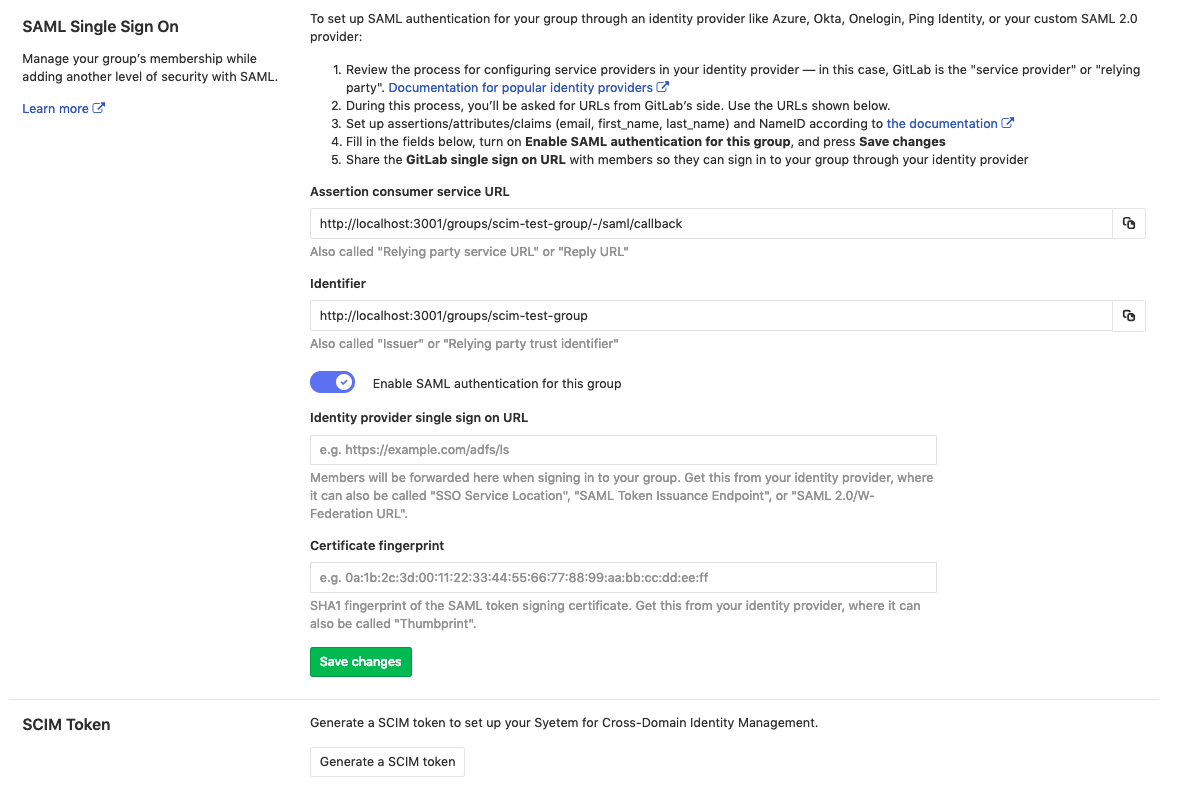
Once Single sign-on has been configured, we can:
- Navigate to the group and click Settings > SAML SSO.
- Click on the Generate a SCIM token button.
- Save the token and URL so they can be used in the next step.
SCIM IdP configuration
Configuration on Azure
In the Single sign-on configuration for the group, make sure
that the Name identifier value (NameID) points to a unique identifier, such
as the user.objectid. This will match the extern_uid used on GitLab.
The GitLab app in Azure needs to be configured following Azure's SCIM setup.
Note the following:
- The
Tenant URLandsecret tokenare the ones retrieved in the previous step. - Should there be any problems with the availability of GitLab or similar errors, the notification email set will get those.
- For mappings, we will only leave
Synchronize Azure Active Directory Users to AppNameenabled.
You can then test the connection clicking on Test Connection.
Synchronize Azure Active Directory users
-
Click on
Synchronize Azure Active Directory Users to AppName, to configure the attribute mapping. -
Select the unique identifier (in the example
objectId) as theidandexternalId, and enable theCreate,Update, andDeleteactions. -
Map the
userPricipalNametoemails[type eq "work"].valueandmailNicknametouserName.Example configuration:
-
Click on Show advanced options > Edit attribute list for AppName.
-
Leave the
idas the primary and only required field.NOTE: Note:
usernameshould neither be primary nor required as we don't support that field on GitLab SCIM yet. -
Save all the screens and, in the Provisioning step, set the
Provisioning StatustoON.NOTE: Note: You can control what is actually synced by selecting the
Scope. For example,Sync only assigned users and groupswill only sync the users assigned to the application (Users and groups), otherwise it will sync the whole Active Directory.
Once enabled, the synchronization details and any errors will appear on the bottom of the Provisioning screen, together with a link to the audit logs.


