5.8 KiB
Auto deploy
Introduced in GitLab 8.15. Auto deploy is an experimental feature and is not recommended for Production use at this time. As of GitLab 9.1, access to the container registry is only available while the Pipeline is running. Restarting a pod, scaling a service, or other actions which require on-going access will fail. On-going secure access is planned for a subsequent release.
Auto deploy is an easy way to configure GitLab CI for the deployment of your
application. GitLab Community maintains a list of .gitlab-ci.yml
templates for various infrastructure providers and deployment scripts
powering them. These scripts are responsible for packaging your application,
setting up the infrastructure and spinning up necessary services (for
example a database).
You can use project services to store credentials to your infrastructure provider and they will be available during the deployment.
Supported templates
The list of supported auto deploy templates is available in the gitlab-ci-yml project.
Configuration
- Enable a deployment project service to store your credentials. For example, if you want to deploy to OpenShift you have to enable Kubernetes service.
- Configure GitLab Runner to use Docker or Kubernetes executor with privileged mode enabled.
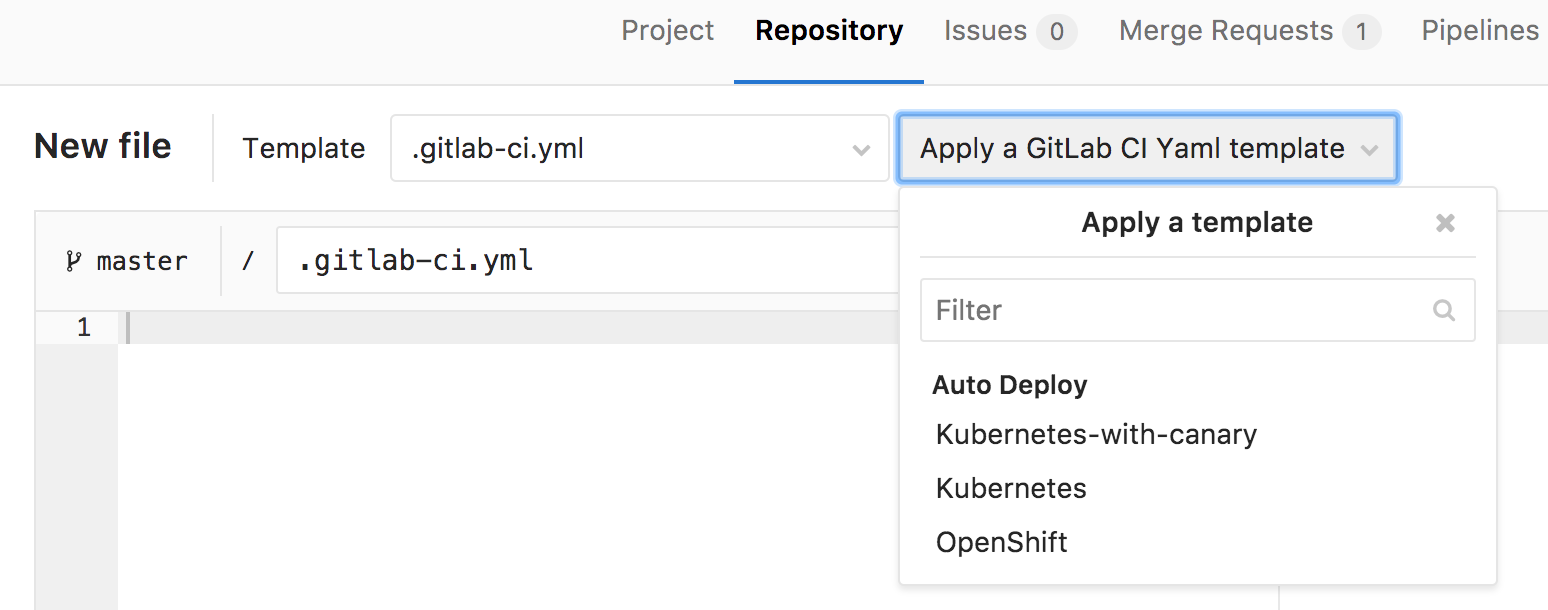
- Navigate to the "Project" tab and click "Set up auto deploy" button.

- Select a template.

- Commit your changes and create a merge request.
- Test your deployment configuration using a Review App that was created automatically for you.
Private Project Support
Experimental support introduced in GitLab 9.1.
When a project has been marked as private, GitLab's Container Registry requires authentication when downloading containers. Auto deploy will automatically provide the required authentication information to Kubernetes, allowing temporary access to the registry. Authentication credentials will be valid while the pipeline is running, allowing for a successful initial deployment.
After the pipeline completes, Kubernetes will no longer be able to access the container registry. Restarting a pod, scaling a service, or other actions which require on-going access to the registry will fail. On-going secure access is planned for a subsequent release.
PostgreSQL Database Support
Experimental support introduced in GitLab 9.1.
In order to support applications that require a database, PostgreSQL is provisioned by default. Credentials to access the database are preconfigured, but can be customized by setting the associated variables. These credentials can be used for defining a DATABASE_URL of the format: postgres://user:password@postgres-host:postgres-port/postgres-database. It is important to note that the database itself is temporary, and contents will be not be saved.
PostgreSQL provisioning can be disabled by setting the variable DISABLE_POSTGRES to "yes".
PostgreSQL Variables
DISABLE_POSTGRES: "yes": disable automatic deployment of PostgreSQLPOSTGRES_USER: "my-user": use custom username for PostgreSQLPOSTGRES_PASSWORD: "password": use custom password for PostgreSQLPOSTGRES_DB: "my database": use custom database name for PostgreSQL
Auto Monitoring
Introduced in GitLab 9.5.
Apps auto-deployed using one the Kubernetes templates can also be automatically monitored for:
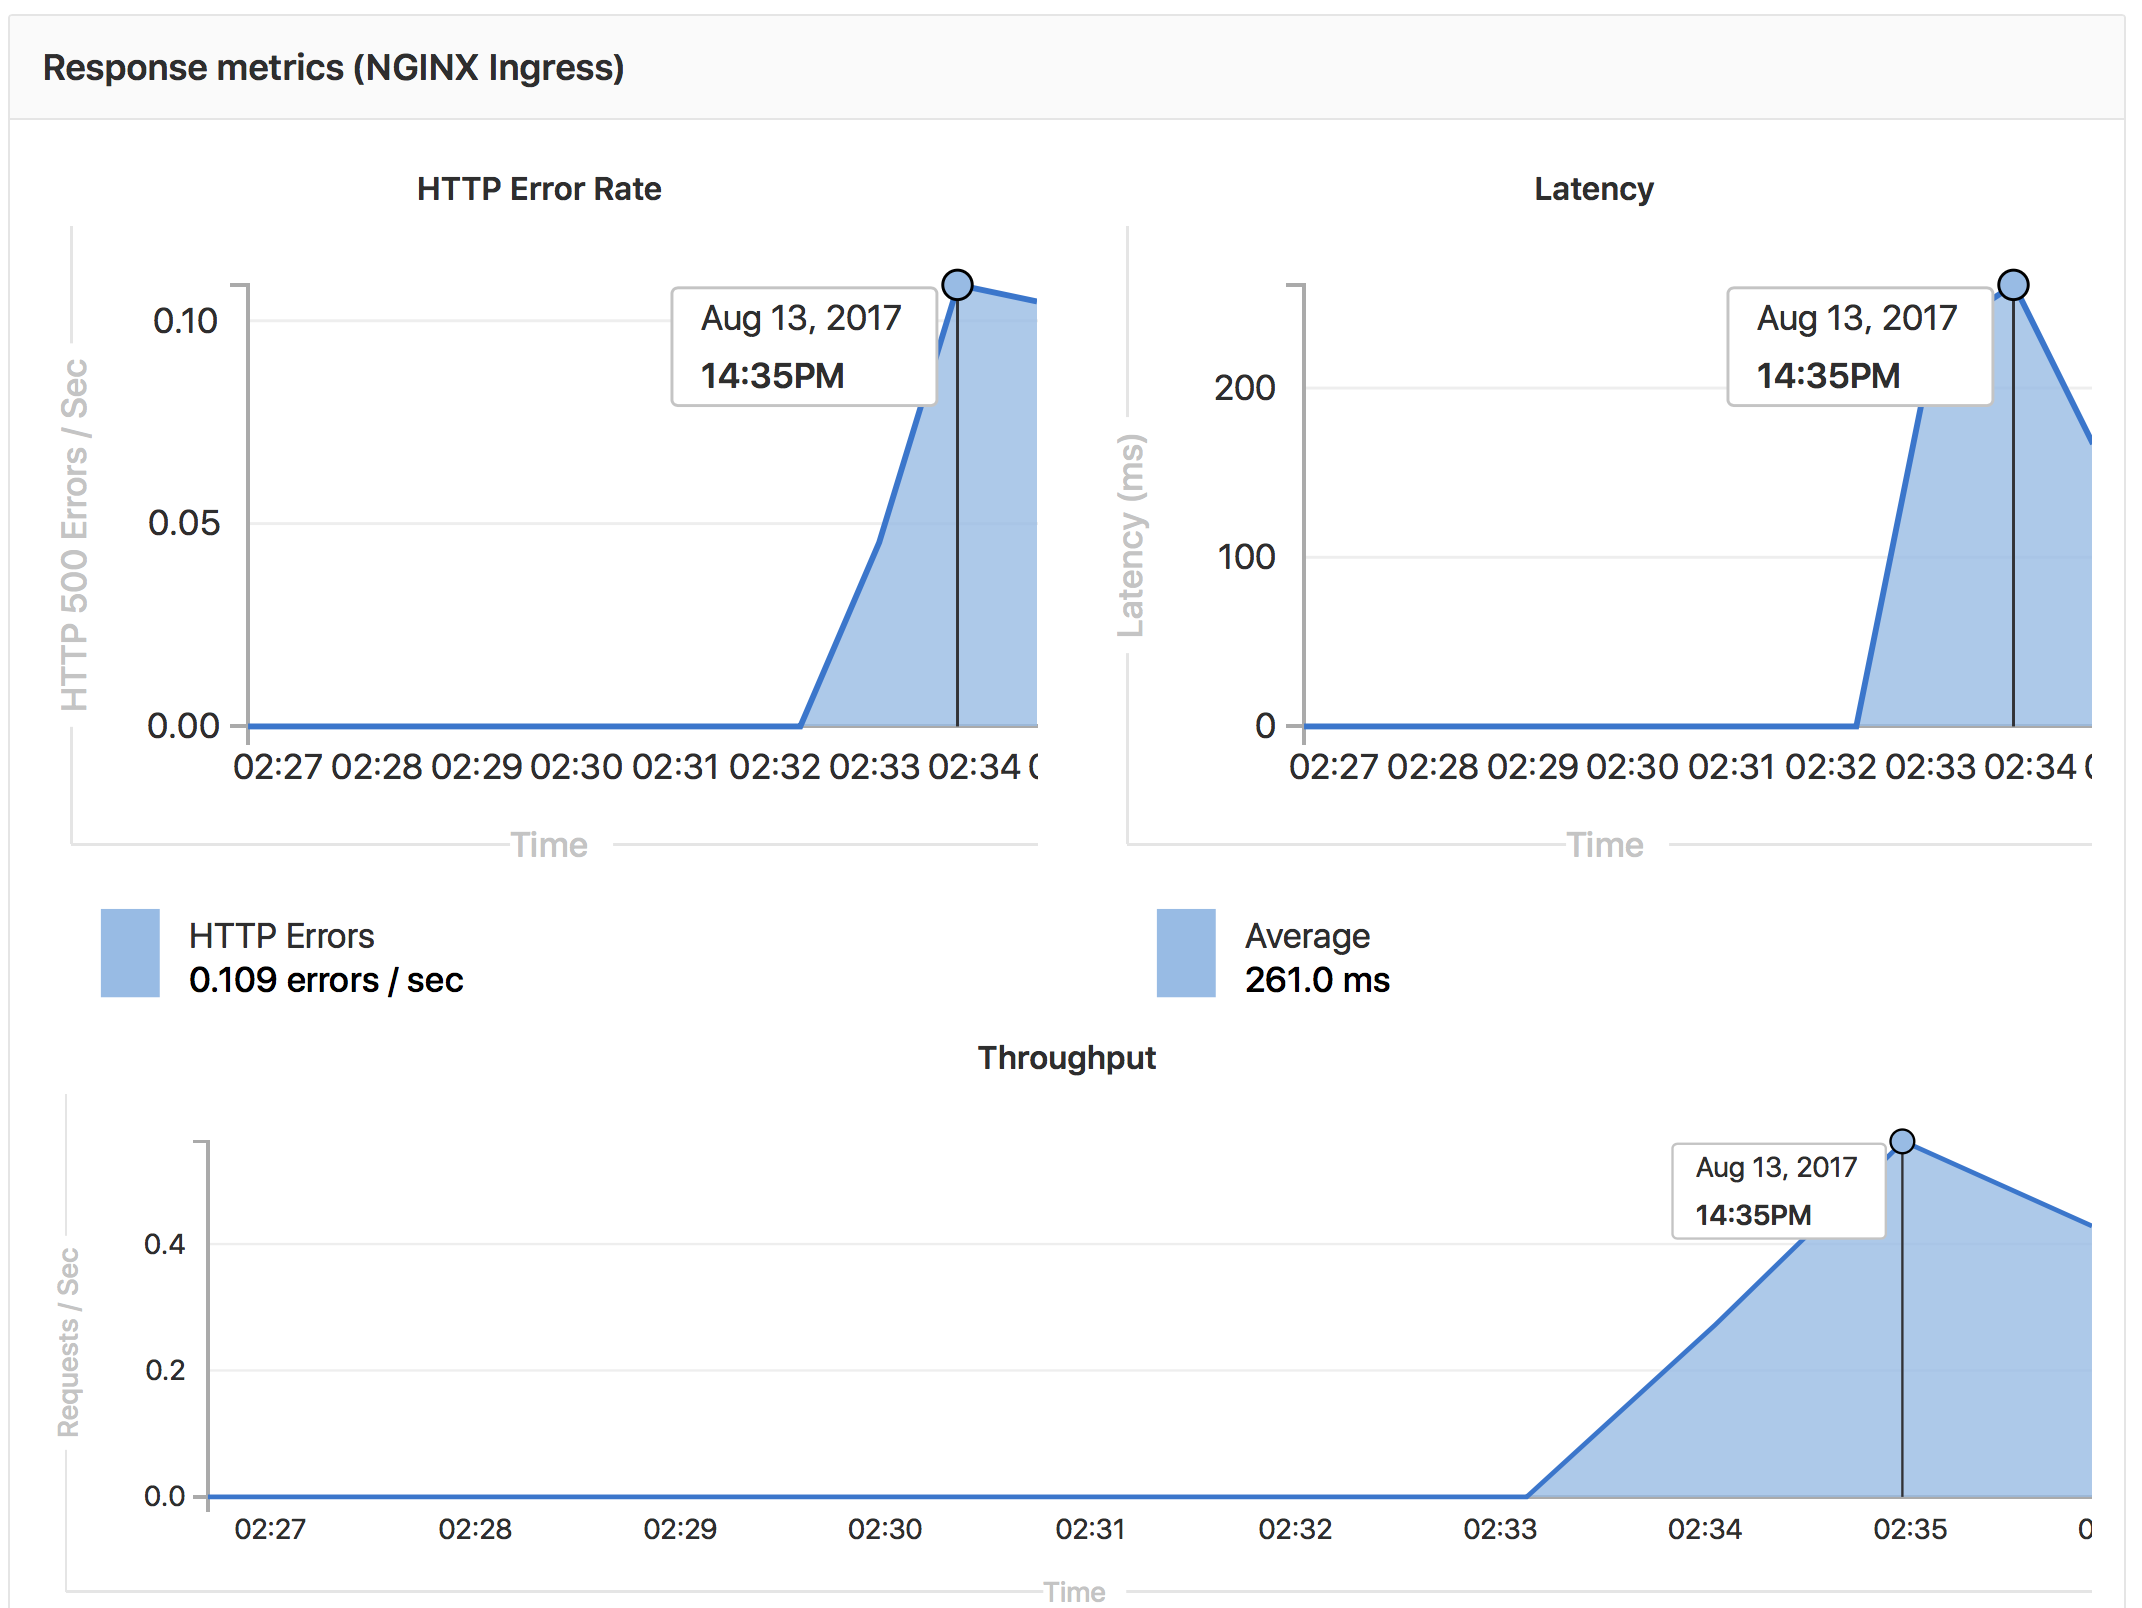
- Response Metrics: latency, throughput, error rate
- System Metrics: CPU utilization, memory utilization
Metrics are gathered from nginx-ingress and Kubernetes.
To view the metrics, open the Monitoring dashboard for a deployed environment.
Configuring Auto Monitoring
If GitLab has been deployed using the omnibus-gitlab Helm chart, no configuration is required.
If you have installed GitLab using a different method:
- Deploy Prometheus into your Kubernetes cluster
- If you would like response metrics, ensure you are running at least version 0.9.0 of NGINX Ingress and enable Prometheus metrics.
- Finally, annotate the NGINX Ingress deployment to be scraped by Prometheus using
prometheus.io/scrape: "true"andprometheus.io/port: "10254".
